Taking notes from a video lecture is different from taking notes in a live class. You can pause, rewind, replay a hard section, check captions, and return to exact moments later. That flexibility helps only if you use it well. Without a system, it usually turns into one of two problems: copying too much or watching passively and remembering very little.
A better approach is simple. Decide what you need from the lecture, choose a note format before you press play, watch in short chunks, and clean up your notes right after. This article shows how to do that with four practical methods: Cornell, outline, charting, and timestamp notes. You’ll also see when transcripts help, when they distract, and how to set up YouTube, online classes, or an iPad so note-taking stays useful instead of slow.
So here’s the deal. This article will show you the best note taking method for video lectures, compare 4 smart note-taking methods for recorded content, and explain when AI tools, transcripts, split-screen setups, and iPad workflows actually help. You’ll also see how to convert video lectures into notes without turning the whole process into a slow-motion typing contest—and if you want the bigger study-skills picture, this guide on how to learn better pairs well with it.
I’m a software engineer, not a neuroscientist. But while building FreeBrain tools and testing learning workflows for self-directed study, I kept running into the same pattern: the students who learn most from video don’t take more notes—they take better ones.
Now you need a system, not just a notebook. If you’re wondering how to take notes from video lectures without turning them into messy transcripts, use this simple prepare-watch-review workflow. For more on learning and study skills, see our learning and study skills guide.
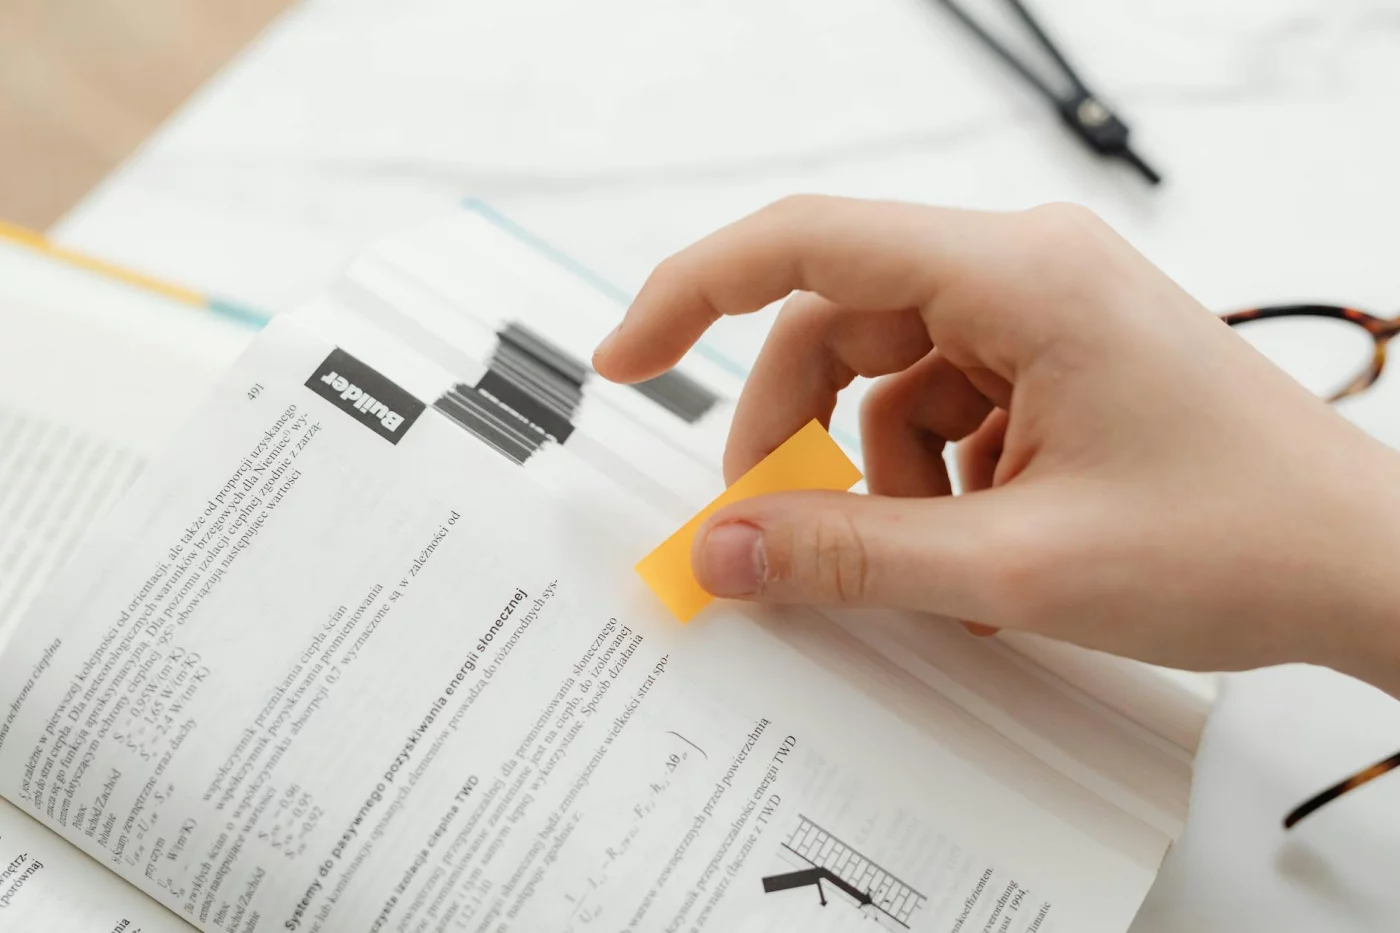
Writing key points in a notebook is a simple, effective way to stay focused during video lectures. — Photo by ThisisEngineering / Unsplash
The 7-step workflow
Use this workflow when you want notes you can actually study from later, not a messy transcript.
Step 1: Set one goal before you start. Pick a clear target such as “understand the process,” “collect exam examples,” or “learn the steps to solve this problem type.” Your goal decides what belongs in your notes.
Step 2: Choose your format before pressing play. Use Cornell for concept-heavy lectures, outline for lectures with clear sections, charting for comparisons, and timestamps for fast tutorials or demos.
Step 3: Preview the lecture. Skim the title, chapter heading, slide list, or transcript so you know the main structure before the details arrive.
Step 4: Watch in short blocks. A good default is 3 to 7 minutes. For a 40-minute lecture, that usually means 6 to 10 note-taking pauses instead of constant stopping.
Step 5: Pause and summarize from memory. Write one or two lines in your own words before checking captions or replaying. If you cannot summarize the block, replay only that part.
Step 6: Mark what needs a return visit. Add timestamps for formulas, diagrams, definitions, or confusing moments. A simple tag works well: “review,” “exam,” or “unclear.”
Step 7: Do a 10-minute cleanup right away. Reduce the page to 5 to 10 core ideas, add 2 to 4 self-test questions, and write a short summary at the bottom.
Example: In a 42-minute biology lecture, you might pause at 06:30, 13:10, 20:00, 27:15, 34:40, and 41:50. After each block, write the main claim, one example, and one question. That gives you a usable study sheet without copying every sentence.
Step-by-step note-taking process
Step 1: Set a goal for the lecture: understand a concept, solve a problem type, or prep for an exam.
Step 2: Choose a note format before pressing play.
Step 3: Preview the title, slides, headings, or transcript.
Step 4: Watch in 3-7 minute chunks.
Step 5: Pause and summarize each chunk in your own words.
Step 6: Mark timestamps, formulas, confusing points, and questions.
Step 7: Review within 24 hours and test yourself on the main ideas.
For a 42-minute biology lecture, break it into six 6-7 minute blocks. After each block, write the key claim, one example, any formula, and one question. That’s a much better study workflow than copying every sentence. If you want the bigger picture on study systems, start with how to learn better.
Why video lectures need a different approach
Recorded content changes the rules. You can pause, rewind difficult parts, slow dense sections to 0.75x, or move familiar material to 1.25x. And yes, captions and transcripts help, but only as reference tools.
If you never pause, your online lecture note taking often turns into passive capture. Research on attention and memory suggests active processing beats rereading alone, which is why how attention affects learning matters so much here; the broader idea also lines up with the levels of processing framework.
Use timestamps for review
Use captions to catch missed terms
Use transcripts to verify, not replace, thinking
From experience: what actually holds up
From building FreeBrain tools and testing manual versus AI-assisted note workflows across YouTube lectures, online courses, and recorded classes, the most reliable system is still prepare-watch-review. Transcript dumping feels efficient. It usually isn’t.
Dense technical lectures usually need more pauses and more margin questions than broad survey lectures. If concentration problems are persistent or severe, consult a qualified professional. Which brings us to the next step: picking the note method that fits the lecture.
Pick the right note method
Now that you know the workflow, the next question is simpler: which format should you actually use? If you’re figuring out how to take notes from video lectures, the best method depends on lecture structure, speed, and how much review you want later.
Choosing the right note-taking method can make video lectures easier to follow and review. — FreeBrain visual guide
How to choose the right note method fast
If you are not sure which method to use, decide based on the lecture itself, not personal preference.
Choose Cornell notes when the lecture explains ideas that need later recall in your own words. This works well for psychology, biology, economics, and any topic built around definitions, mechanisms, or cause and effect. Cornell is slower during the lecture but stronger for review because the cue column turns into ready-made questions.
Choose outline notes when the speaker follows a clean structure. If the lecture has obvious sections, numbered points, or slide headings, outline notes are usually the fastest option. They work well for history, business, and survey-style classes.
Choose charting when the lecture compares categories side by side. Use columns for cases, theories, formulas, drugs, authors, or historical periods. If the lecture keeps asking “how is A different from B,” charting is usually clearer than paragraphs.
Choose timestamp notes when the lecture is dense, fast, or procedural. This is often the best fit for coding videos, software demos, worked math examples, and YouTube tutorials. Instead of trying to capture everything live, write short labels tied to exact moments, then expand only the parts you need.
A simple rule helps: if the lecture is about explanation, use Cornell; if it is about structure, use outline; if it is about comparison, use charting; if it is about steps on screen, use timestamps.
If you still hesitate, start with outline or Cornell. They are the safest defaults for most students. You can also use the Study Method Picker if you want a quick way to match the lecture type to a study format.
Method quick reference
Method
Best for
Speed
Review strength
Downside
Ideal lecture type
Cornell
Theory, cause-effect
Medium
High
More setup
Concept-heavy lectures
Outline
Clear sections
Fast
Medium-High
Weak for messy talks
History, economics
Charting
Comparisons, definitions
Medium
High
Rigid format
Pharmacology, law
Timestamps
Dense or fast videos
Fastest
Medium
Needs replay
Coding, YouTube tutorials
Personally, I think beginners should default to Cornell or outline. Why? They create more organized study notes, and research on note-taking and retrieval from the National Library of Medicine supports formats that make later self-testing easier.
Method 1: Cornell for concept-heavy lectures
Use Cornell notes when the lecture explains models, mechanisms, or cause and effect. The left cue column becomes questions, the main area holds notes, and the bottom gets a 2-4 sentence lecture summary. That structure fits scientifically proven study methods because it nudges you toward review, not just copying.
Example: in psychology, your cues might be “What is working memory?” or “How does rehearsal help recall?” Then your summary captures the model in plain language. And yes, that extra summary matters.
Method 2: Outline for structured lectures
The outline method works best when the speaker follows obvious headings. A history lecture with five sections? Perfect. Each section becomes a top-level bullet, then subpoints, dates, and examples sit underneath.
Main point
Subpoint
Evidence or example
Method 3 and 4: Charting and timestamps
Charting is the best note taking method for video lectures when you’re comparing categories side by side. Think pharmacology drugs, legal cases, formulas, or historical periods. Columns make lecture note examples cleaner than paragraphs.
Timestamp notes are better for fast tutorials and recorded lecture notes you may revisit. Example: [12:40] recursion base case explained; [18:05] common bug; [24:10] practice task. If you’re learning coding, transcripts and closed captions help a lot.
One method won’t fit every subject. Mixing formats across a semester is normal — and smart. Next, I’ll show you how to use transcripts, AI, and your device without turning note-taking into busywork.
Use transcripts, AI, and your device well
Once you’ve picked a note format, your tools matter. If you want to learn how attention affects learning, start here: transcripts, captions, and AI should support thinking, not replace it.
A simple notebook setup highlights smart ways to organize video lecture notes with transcripts, AI, and built-in device features. — Photo by DS stories / Pexels
Transcripts and captions: help or distraction?
For how to take notes from video lectures, use a simple rule: watch first, transcript second. Unless the audio is muddy or the terms are unfamiliar, don’t read while the speaker talks or you’ll start copying instead of processing.
Closed captions help with technical spelling. A lecture transcript helps you clean up missed details and find exact moments fast. Playback speed matters too: 1.0x for dense material, 1.25x for review, and slower only when accuracy really matters.
Can AI take notes from a video?
Yes — but usually from a transcript, captions, or pasted notes, not raw video. Tools can draft summaries, pull key terms, and turn content into questions or flashcards; that’s part of how AI increases productivity. But wait: AI can miss diagrams, speaker emphasis, and errors in auto-captions.
Best for: draft notes, quiz questions, flashcards
Weak at: nuance, prioritizing what matters, catching caption mistakes
Real-world setups: YouTube, online class, iPad
Want how to take notes from video lectures to feel easier? Use the free/manual option first: open the YouTube transcript panel, watch in 5-10 minute chunks, add timestamps like [12:40], then clean up after. For online classes, put slides on one side and your notes app on the other, and mark unclear parts for replay.
On iPad, Split View works well: video left, notes right, Apple Pencil for diagrams, keyboard for speed. Speaking of which — the next step is avoiding bad notes and reviewing them fast.
💡 Pro Tip: If you’re learning from YouTube or an online course, don’t pause for every sentence. Pause only when you can write a 5-10 word summary from memory. That keeps you processing instead of transcribing.
Avoid bad notes and review them fast
You’ve got the transcript, timestamps, and setup. Now comes the part that decides whether how to take notes from video lectures actually helps you study later.
Bad notes usually fail for one reason: they capture too much and think too little.
Common mistakes that ruin lecture notes
First mistake? Transcribing everything. That feels productive, but it kills focus while studying because you’re typing words instead of processing ideas. Research on attention and memory consistently shows that what you actively select and organize sticks better than what you passively copy.
Second: skipping the 10-minute cleanup right after watching. And yes, this matters more than people think. If you don’t reduce messy notes into usable cues, your online lecture note taking turns into digital clutter.
Third: using one format for every subject. Timestamps work well for problem-solving videos, but a chart is clearer for comparisons, and an outline is better for theory-heavy lectures.
Key Takeaway: Good lecture notes are selective, cleaned up fast, and built for review. A finished page should contain 5-10 core ideas, 2-4 self-test questions, one short summary, and obvious markers for confusing points to revisit.
A simple template you can reuse
Here’s a lecture note template that works for most video classes:
Topic: Photosynthesis basics
Goal: Explain light-dependent vs. light-independent reactions
A solid finished page might include 7 core ideas, 3 questions, one summary, and “??” beside two confusing points. That’s a much better answer to how to take notes from video lectures than a five-page transcript. For review, turn those questions into active recall flashcards or a short self-test.
Quick review plan and next steps
Use the 5 R’s after class if you want a simple cleanup rule: record, reduce, recite, reflect, review. Quick sidebar: the powerful part isn’t recording. It’s reducing and reciting.
Review once within 24 hours, then again in 3-7 days. Before rereading, cover your notes, turn headings into questions, and test yourself first. Pick one method for your next lecture, clean it up right away, and convert the page into recall prompts. Which brings us to the last thing most readers want: the quick FAQ and final wrap-up.
A 15-minute cleanup routine that turns rough notes into study notes
The biggest difference between notes you keep and notes you actually use is what happens right after the lecture ends. A short cleanup pass is usually more valuable than taking more notes during the video.
Try this 15-minute routine.
Minutes 1 to 3: scan the page and delete clutter. Remove repeated points, half-finished sentences, and details you copied only because the speaker said them quickly. Keep the ideas that would matter on a quiz, in a discussion, or in a homework problem.
Minutes 4 to 7: label the important parts. Put a star next to the 5 to 10 ideas that matter most. Circle terms you need to define. Highlight any timestamp worth revisiting, such as a worked example, diagram, or explanation you did not fully understand the first time.
Minutes 8 to 11: convert notes into questions. Turn headings and bullets into prompts you can answer from memory. For example, change “operant conditioning” into “How is operant conditioning different from classical conditioning?” Change “mitosis stages” into “What happens in each stage, in order?” If you want help turning notes into prompts, the Active Recall Builder is a natural next step.
Minutes 12 to 15: schedule the next review. Write one short summary at the bottom of the page, then decide when you will revisit it. A simple pattern is one review within 24 hours and another in 3 to 7 days. If you want a ready-made review cadence, use the Spaced Repetition Generator. If your main problem is staying on task long enough to finish the cleanup, the Focus Session Planner can help you block the time.
Here is a concrete example. Suppose your rough notes from a 30-minute statistics lecture include scattered lines like “normal distribution,” “z-score formula,” “example at 14:20,” and “not sure why standard deviation matters.” After cleanup, the page should look more usable: one short definition of normal distribution, one formula with a plain-language note, a timestamp for the worked example, and two self-test questions such as “When do I use a z-score?” and “What does standard deviation tell me?” That version is shorter, but it is much better for review.
If your notes still feel overloaded after cleanup, that usually means the lecture itself was dense enough to split across two study sessions. In that case, keep the rough capture, review only the starred ideas first, and come back later for the rest. For more on handling heavy material without drowning in details, see How to Study Complex Topics Without Getting Mentally Overloaded.
Frequently Asked Questions
How do you take notes from video lectures effectively?
The best way to learn how to take notes from video lectures is to use a simple before-during-after workflow. Before you start, skim the topic and set up a note format; during the lecture, pause every few minutes, write a short summary in your own words, and mark timestamps for confusing parts instead of trying to capture every sentence. Afterward, review your notes within 24 hours and turn the most important ideas into questions, practice prompts, or flashcards so the material sticks.
What is the best note taking method for video lectures?
There isn’t one single best note taking method for video lectures because different classes ask for different kinds of thinking. Cornell notes work well for concept-heavy material, outline notes fit structured lectures with clear headings, charting is great for comparisons, and timestamp-based notes help when videos are fast or dense. The right choice depends on the subject, the lecture speed, and how you’ll review later—if you want a quick way to match a method to your situation, FreeBrain’s study tools and note-planning resources can help you choose faster.
How do transcripts help with lecture notes?
If you’re figuring out how to use transcripts for lecture notes, think of transcripts as a support tool, not a substitute for active learning. They help you catch exact terms, definitions, formulas, and details you may have missed, especially when the audio is unclear or the speaker moves quickly. But wait—if you lean on the transcript too early, it’s easy to slip into copying, so it’s usually smarter to watch once for understanding and then use the transcript to fill gaps and clean up your notes.
Can a note-taking tool summarize a video?
Yes, can chatgpt take notes from a video is usually a practical question with a mostly yes answer—but it often needs a transcript, captions, or pasted lecture content first. It can quickly turn that material into summaries, study questions, and flashcards, which saves time when you’re reviewing long lectures. Still, you should verify facts, examples, and what the instructor emphasized against the original video, because generated notes can miss nuance or over-simplify key points.
How do you take notes while watching a video on iPad?
For how to take notes while watching a video on ipad, Split View is the easiest setup: keep the lecture on one side and your notes app on the other. Use captions when technical vocabulary matters, pause briefly to summarize ideas in a sentence or two, and choose your input based on the task—Apple Pencil works well for diagrams and equations, while a keyboard is usually faster for dense lectures. Personally, I think the biggest mistake is trying to write too much live; short summaries beat messy transcripts every time.
What are the 5 R’s of note-taking?
What are the 5 r’s of note-taking? They are record, reduce, recite, reflect, and review. For video lectures, that means you first capture the main ideas, then shorten them into cleaner notes, test yourself from memory, connect the ideas to what you already know, and revisit them later—an approach that lines up well with research on retrieval practice and spaced review summarized by sources like the American Psychological Association. They’re most useful as a review framework after your first watch, not as a replacement for learning how to take notes from video lectures with the right format in the first place.
Final takeaway
If you want a simple answer for how to take notes from video lectures, it comes down to four moves: pick one note-taking method that fits the lecture, pause less by using timestamps and transcripts strategically, let AI help with structure instead of thinking for you, and review your notes within 24 hours so they actually stick. That’s the part most people miss. Messy notes aren’t usually a motivation problem — they’re a system problem. And once you fix the system, your notes get shorter, clearer, and far more useful when it’s time to study.
You don’t need perfect notes. You need notes you can use. If you’ve ever finished a long lecture and realized you wrote down everything except what mattered, you’re not alone. Personally, I think this gets easier fast once you stop trying to transcribe and start filtering for main ideas, examples, and questions. One better lecture at a time is enough. Small upgrades compound.
Want to keep improving? Explore more practical study systems on FreeBrain.net, including How to Take Better Notes and Active Recall Studying. Those two guides pair especially well with what you’ve learned here, because knowing how to take notes from video lectures is only step one — turning those notes into memory is where the real payoff starts. Pick a method, test it on your next lecture, and make your notes work for you.
⚠️ Educational Content Notice: This article is for educational and informational purposes only. It is not intended as medical, psychological, or professional advice. If you have concerns about your health or well-being, please consult a qualified healthcare professional. Always seek the guidance of your doctor or other qualified health provider with any questions you may have.